Uploading Files
Supported formats, size limits, and how background uploads work so you can keep working while files transfer.
- 1
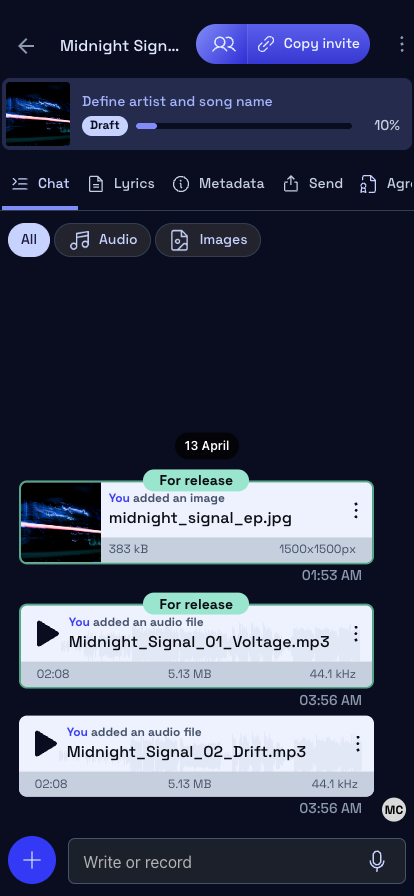
Create a project and select files
Tap "+" or "Create" from your project list. Name your project (usually the release title), then tap "Select Files" to choose audio files (WAV, FLAC, MP3) and cover art from your device.

- 2
Background uploads
Files start uploading immediately in the background. Up to 4 files transfer simultaneously. Each file retries automatically if the connection drops. A checkmark appears when each file completes. You can navigate the app freely while uploads run.
- 3
Audio metadata extraction
Audio files automatically get duration, bitrate, sample rate, and waveform metadata extracted on upload. This information is visible in the file details and helps your label manage the release.
Was this guide helpful?
If something's unclear or missing, send us a note and we'll reply with the right answer or update the guide.