Configuring Workspace Settings
Rename your workspace, set up custom metadata fields that appear on every project, and manage workspace-level configuration.
- 1
Access Settings (Owner only)
The "Settings" link in the sidebar is only visible to Owners. It has tabs for General, Metadata Fields, and Import.
- 2
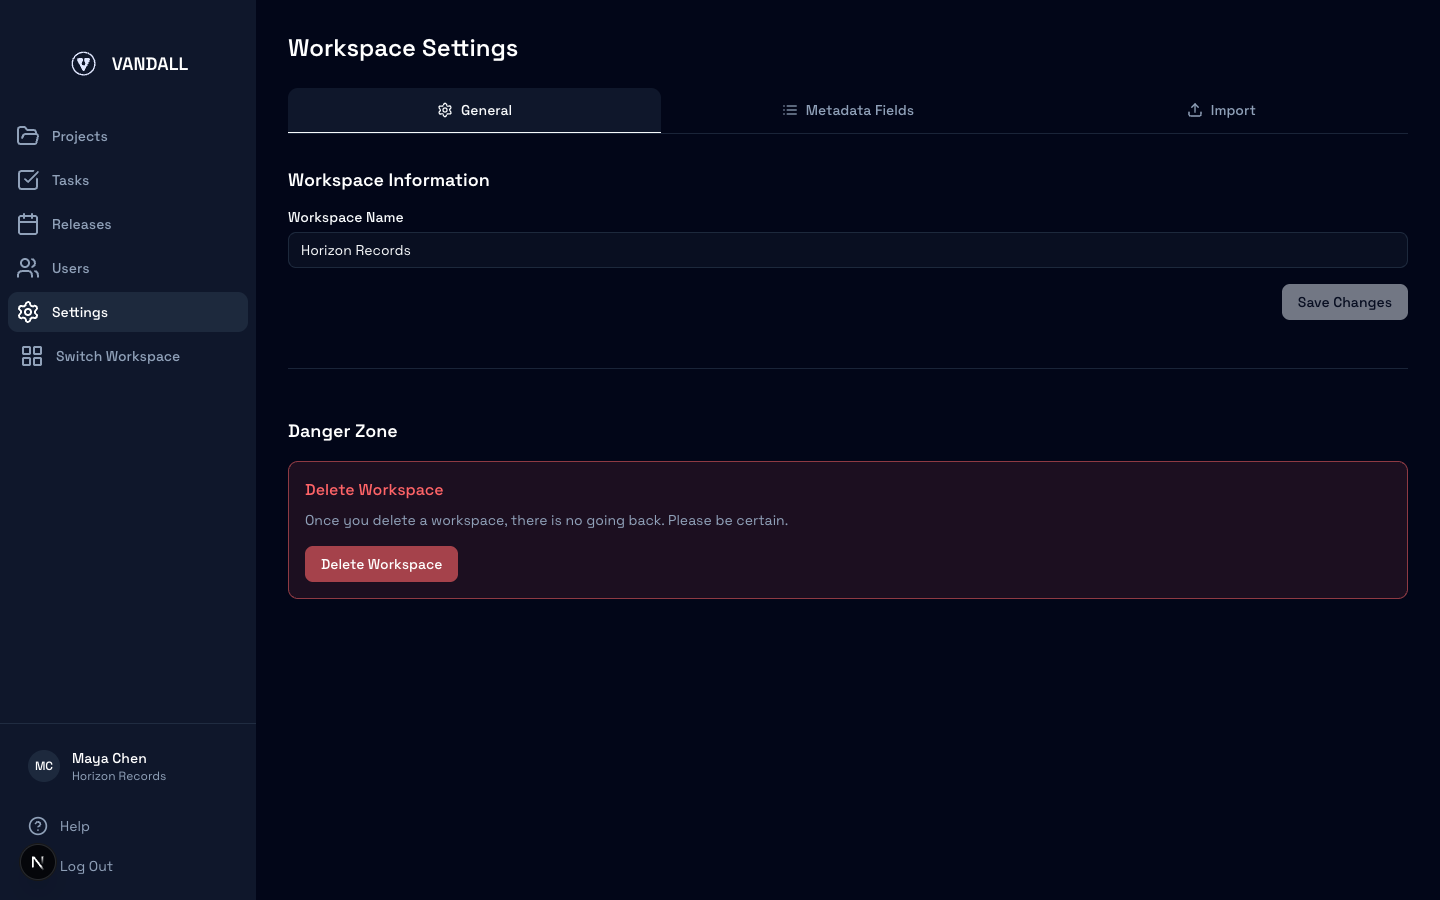
Rename your workspace
On the "General" tab, edit the workspace name and click Save. This name appears in the sidebar, invitation emails, and the workspace switcher.
- 3
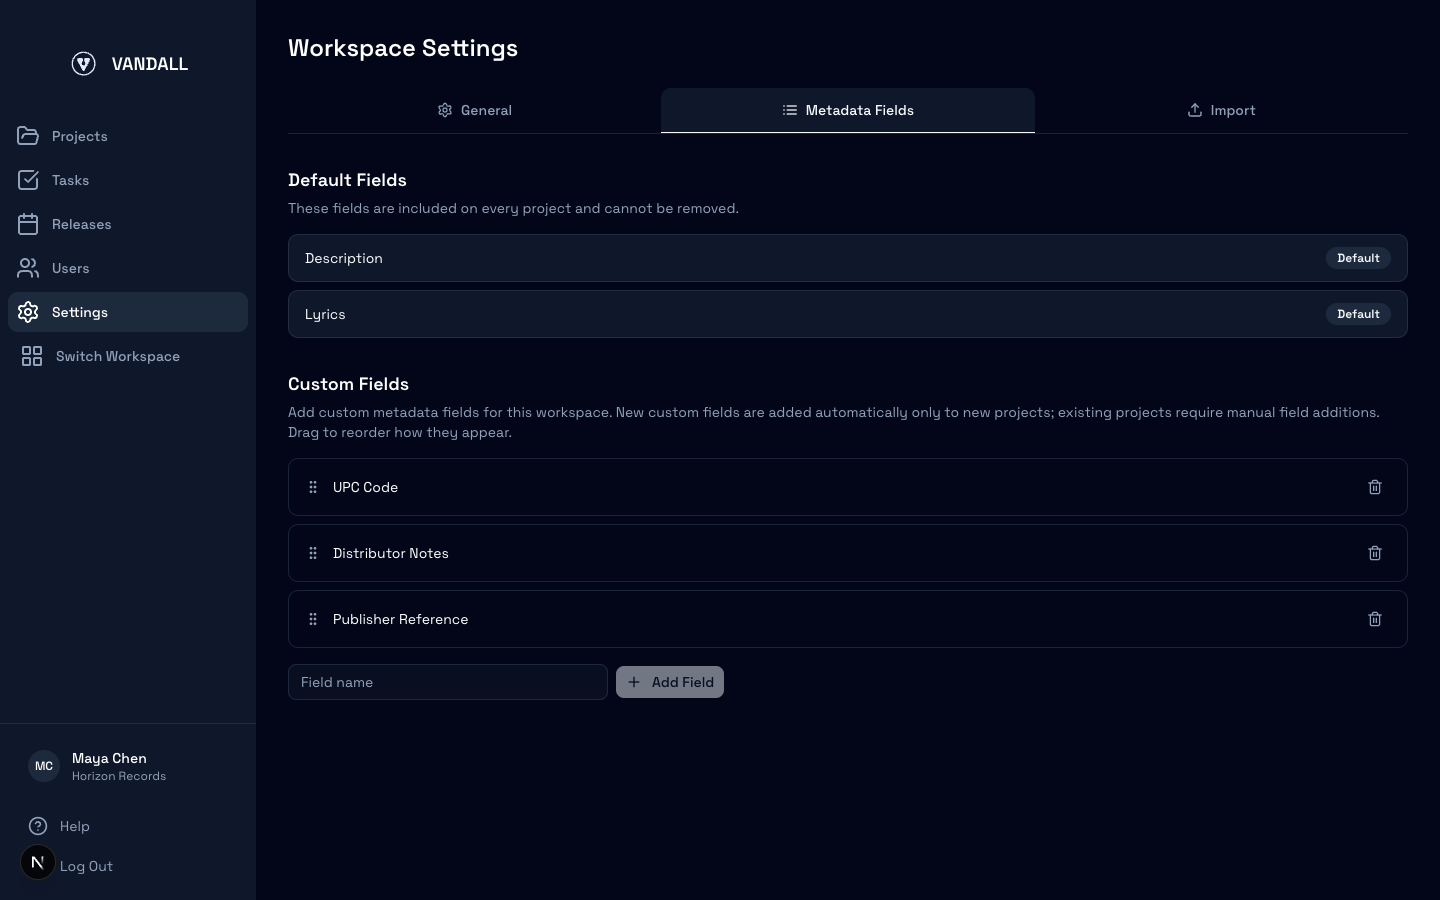
Add custom metadata fields
Switch to "Metadata Fields." Every workspace starts with Description and Lyrics. Add custom fields like "UPC Code" (for barcode tracking), "Distributor Notes" (internal comments), "Publisher Reference" (linking to publishing admin), or status fields for tracking submissions. Custom fields appear on every project's Metadata tab.
- 4
Reorder and remove custom fields
Drag custom fields to reorder — this controls the order on each project. Click delete to remove a field. Default fields (Description, Lyrics) cannot be removed.
Was this guide helpful?
If something's unclear or missing, send us a note and we'll reply with the right answer or update the guide.