Setting Up Your Workspace
Create your workspace, invite your team, and get your first project into the pipeline — in under 10 minutes.
- 1
Sign in and name your workspace
After logging in for the first time, you'll land on the workspace creation screen. Enter your label or company name — this is what your team sees when they accept their invitation. You can change it later under Settings > General. If you belong to multiple workspaces, you can switch between them from the workspace selector at login.
- 2
Invite your core team
Open "Users" in the sidebar and click "Invite User." Add each email and select a role: Owner (full control including billing and settings), Admin (manage members and projects), or Member (collaborate on assigned projects). Start with yourself as Owner and your A&R or project manager as Admin.
- 3
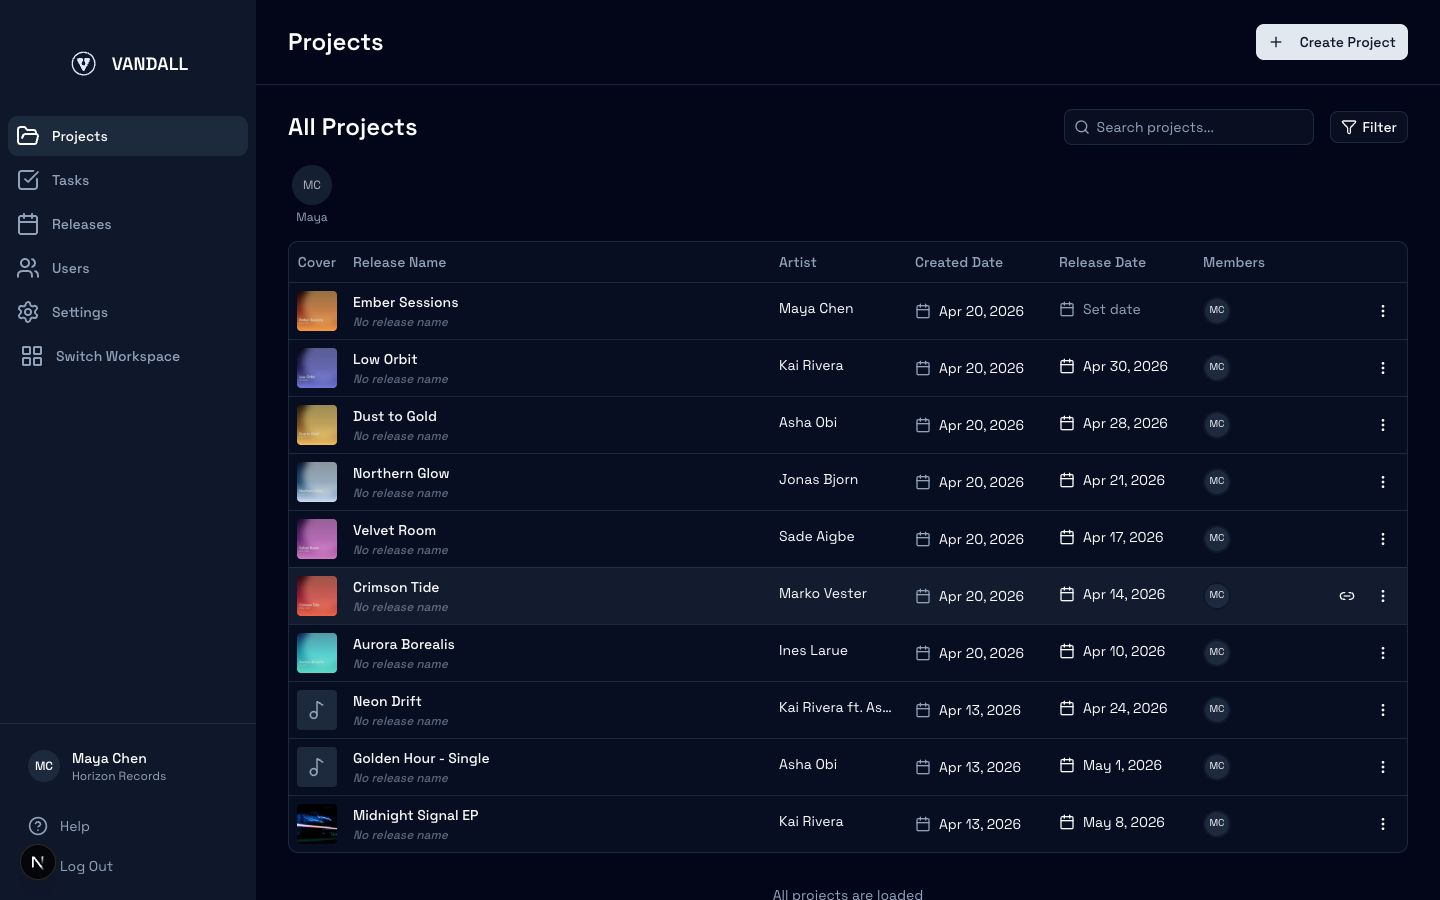
Create your first project
Go to "Projects" in the sidebar and click "New Project." Enter the release name and artist name. After creation, you'll see tabs for Summary, Metadata, Files, Agreements, Tasks, Activity, and Stats.
- 4
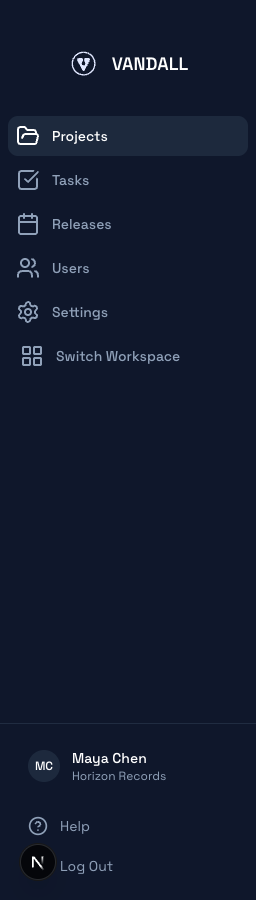
Understand the sidebar
The sidebar has five sections: Projects (your catalog), Tasks (workspace-wide task board), Releases (calendar view), Users (team management), and Settings (workspace config, custom metadata fields, and CSV import). If you're migrating from spreadsheets, check out the "CSV Import" guide.
Tips
- Start with just 2-3 team members. You can always invite more later.
- Use the release calendar from day one — it keeps everyone aligned.
Was this guide helpful?
If something's unclear or missing, send us a note and we'll reply with the right answer or update the guide.